Customising a funeral order of service can feel daunting when you’re already dealing with so much else. The good news is: you don’t need to be a designer to create something beautiful and meaningful.
With a good template and a few simple guidelines, you can:
- Add your own photos and wording
- Adjust fonts and colours
- Choose a layout that fits your hymns, readings and tributes
- Avoid the most common mistakes that cause stress at the last minute
This guide walks you through the whole process, step by step: from opening your template to sending it to print.
When you’re ready to start, you can choose and edit a design here:
Browse free funeral order of service templates.

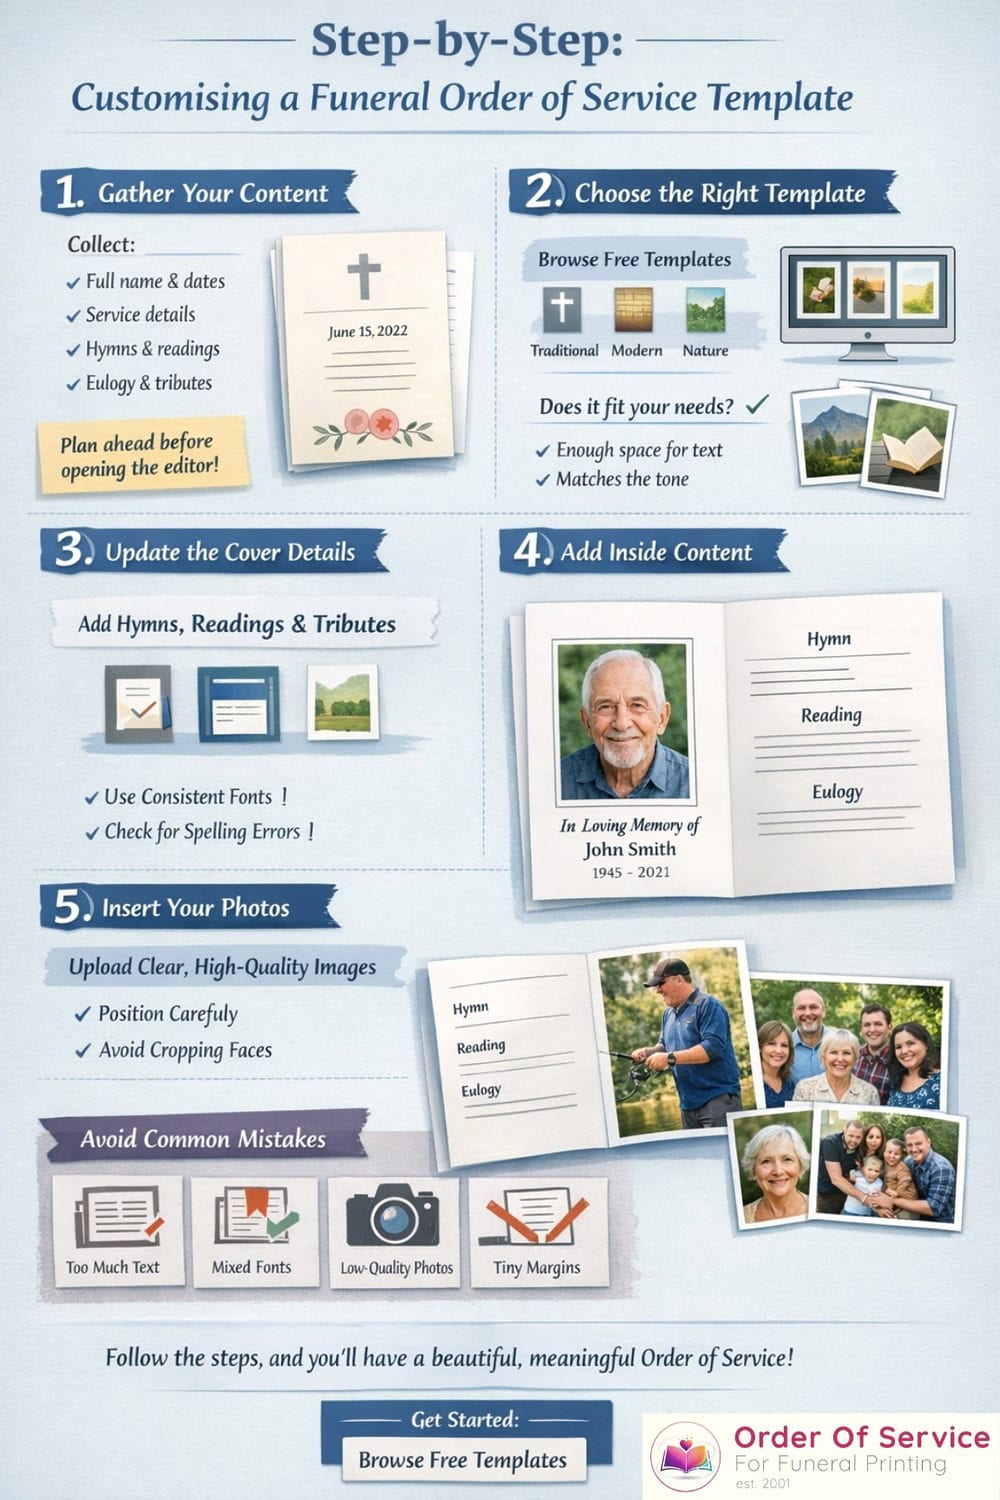
Step‑by‑Step: Customising a Funeral Order of Service Template
1. Gather Your Content Before You Open the Editor
Customising is much easier once you know what needs to go in. Collect:
- Full name and life dates
- Service details – date, time, venue, officiant
- Outline of the order of service:
- Welcome / introduction
- Hymns or songs
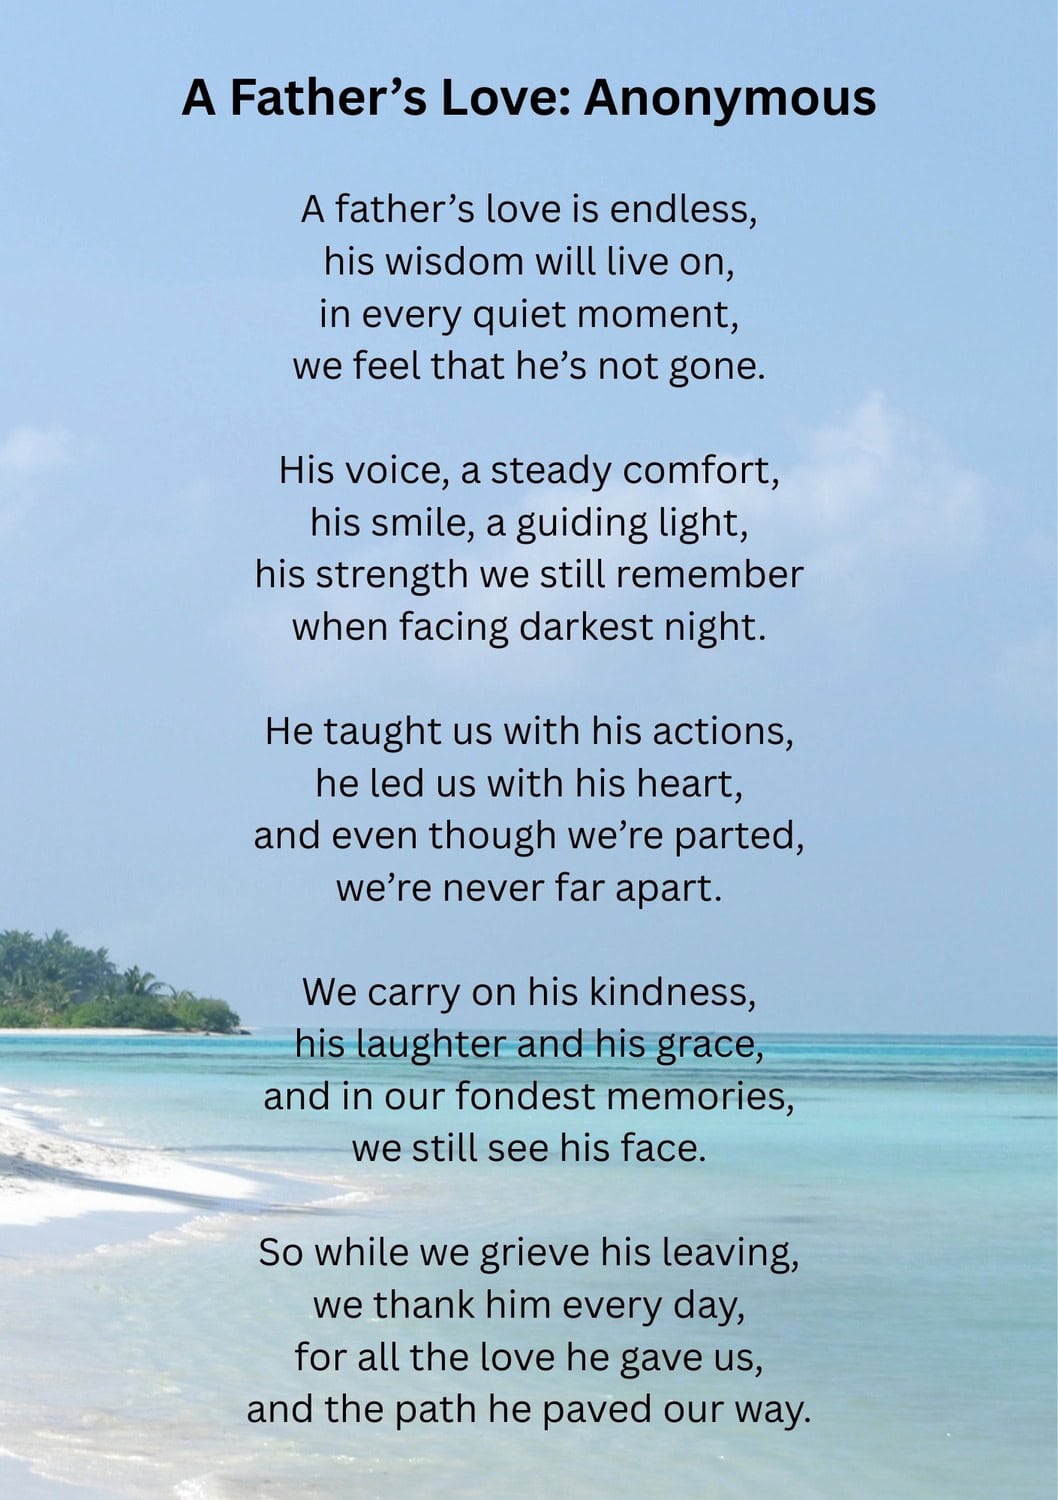
- Readings, poems or prayers
- Eulogy and tributes
- Committal / closing words
- Any thank‑you message and wake details
- Your chosen photos
If you’re not sure what to include or how to structure it, use this as your reference:
How to write a funeral order of service guide.
2. Choose the Right Template as Your Starting Point
Go to:
Free funeral order of service templates – easily customisable.
Filter by style that best fits your loved one and the service:
- Traditional / Religious – for church funerals and classic tastes
- Modern / Minimalistic – clean lines, simple fonts
- Floral / Nature – gentle, comforting designs
- Hobbies / Military & Police – to reflect passions or service
Preview a few designs and ask:
- Is there enough room for my hymns and readings?
- Does the number of photos in the layout match what I’d like to use?
- Does the overall feel match the tone of the funeral?
Once you’ve chosen, click Customise to open it in the online editor.
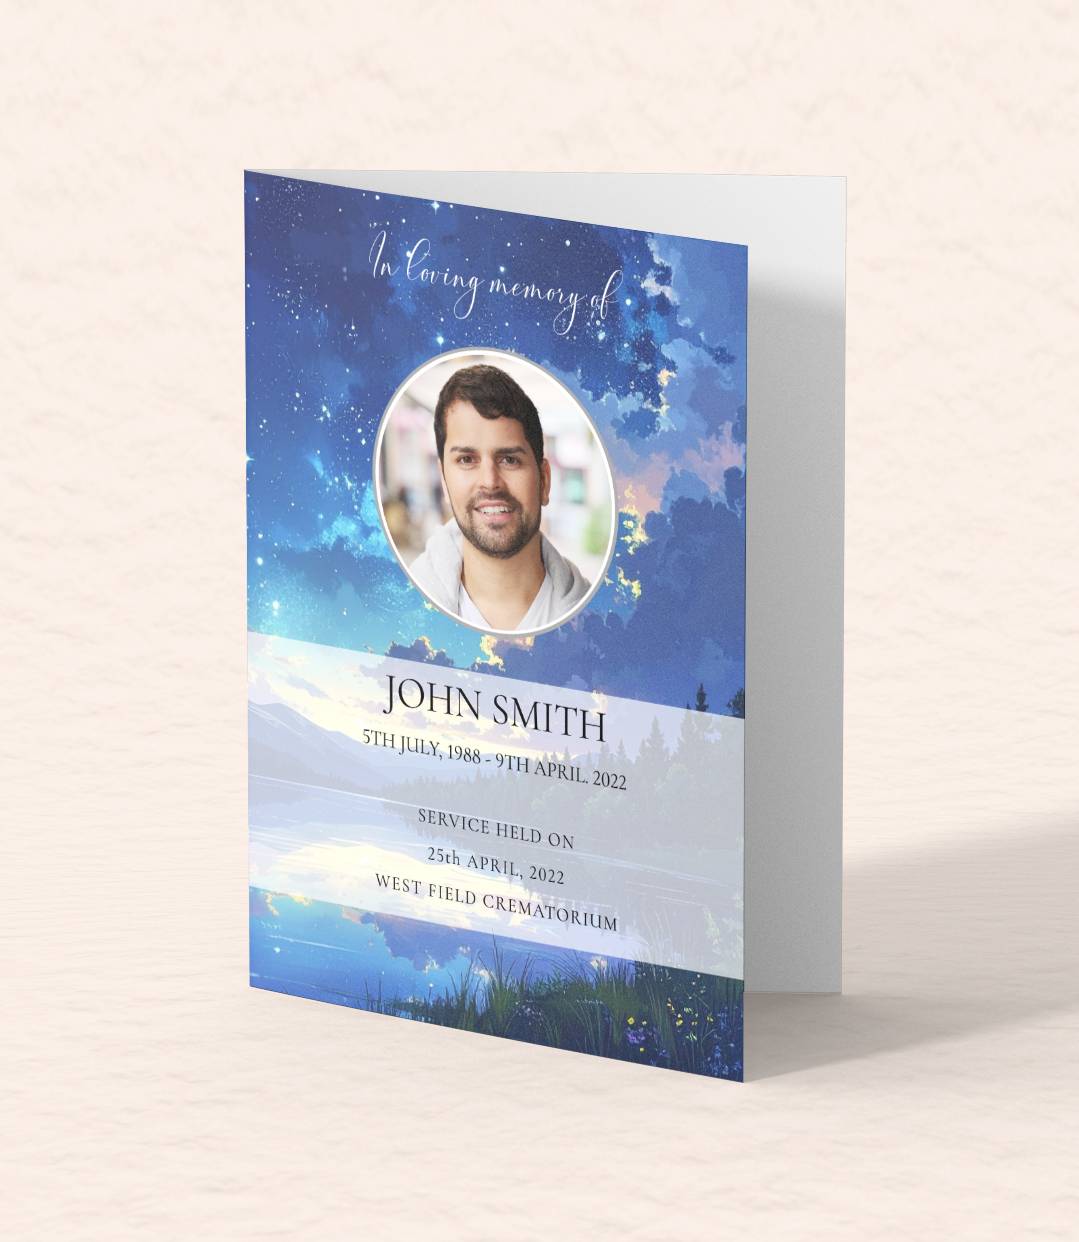
3. Update the Cover Details
Start with the front cover – it sets the tone.
Typically you’ll see placeholders for:
- Name
- Dates
- A main photo
- Service date, time and place
Replace them with your details:
- Make sure the name and dates are 100% accurate.
- Choose a clear, well‑lit photo that feels like “them”.
- Keep the wording simple, for example:
- “A Service of Thanksgiving for the Life of…”
- “In Loving Memory of…”
If your template allows colour changes, you can tweak accent colours to match the photo or your loved one’s favourite shade.
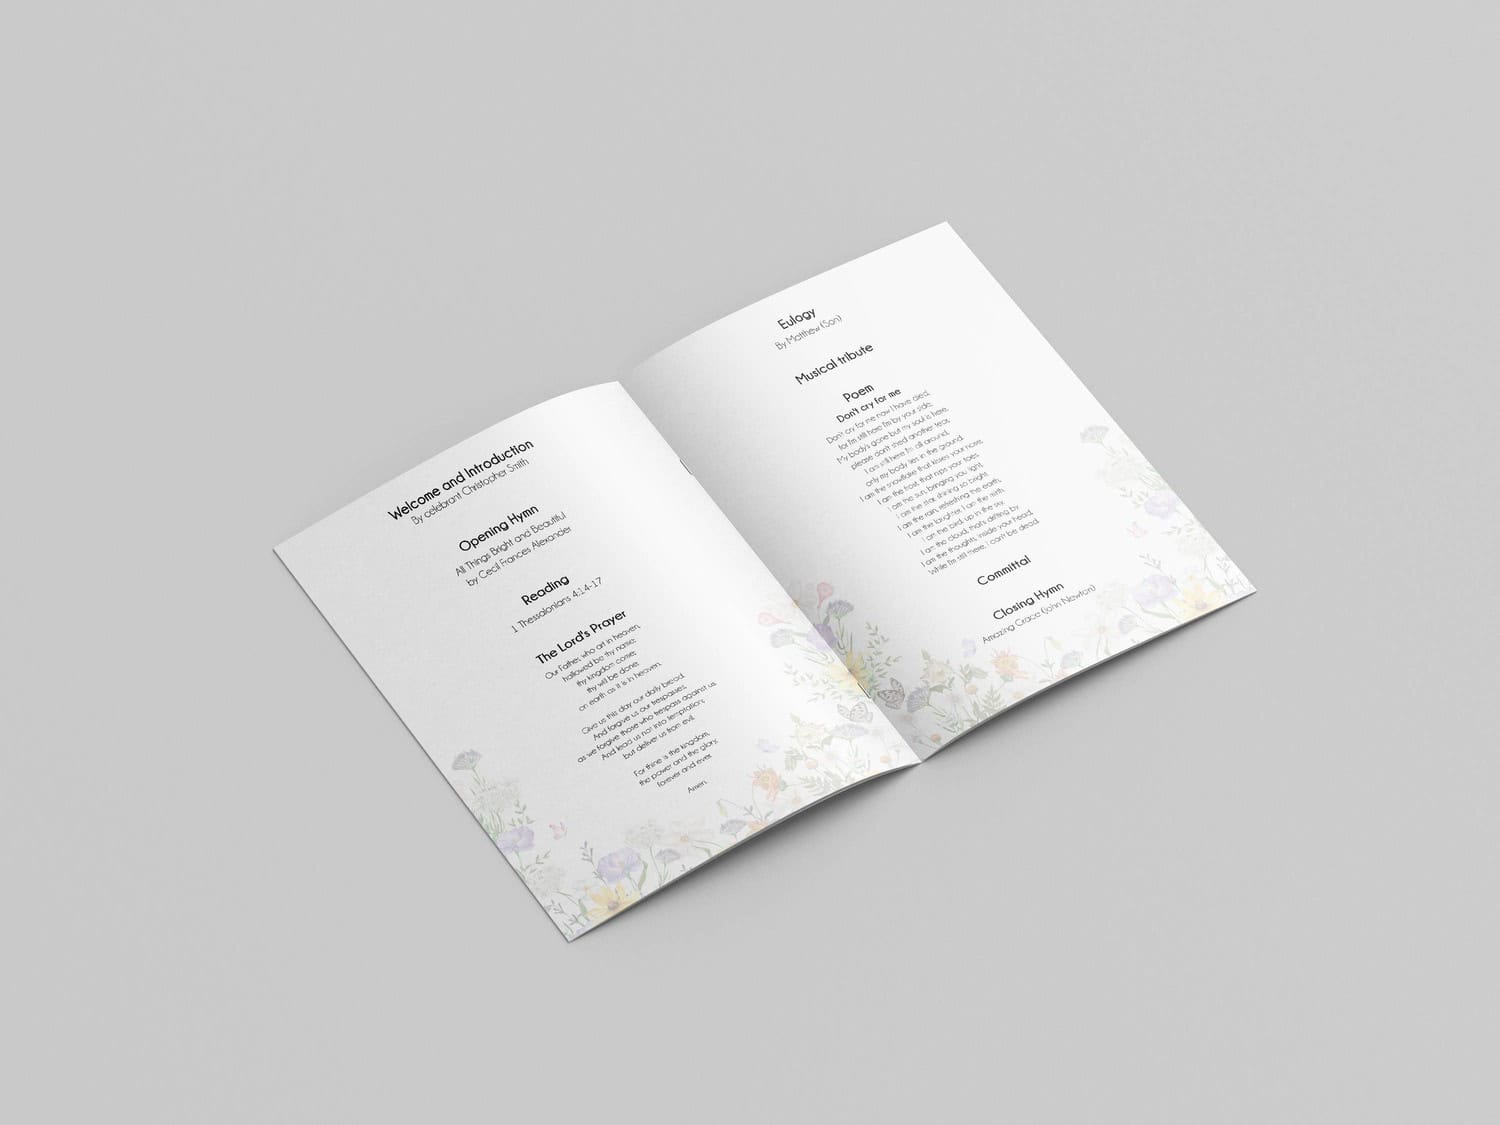
4. Add and Format the Inside Text
Work through the inside pages in order.
- Include headings like “Hymn”, “Reading” and “Eulogy” with your own wording if you want.
- Copy and paste your selected hymns, readings and poems into the relevant sections.
- Add the names of any speakers or readers underneath their section.
Formatting tips:
- Keep headings consistent (same font, size and style across the booklet).
- Use bold for headings, regular for body text.
- Break long text into shorter paragraphs to make it easier to read.
- For hymns and poetry, preserve line breaks exactly as they should be sung or read.
Need ideas for structure and wording? Have a look at:
Funeral Order Of Service Examples & Ideas.
5. Insert and Position Your Photos
Next, customise the images:
- Click on any placeholder image to upload your own photo.
- Use high‑resolution images whenever possible (straight from a phone or camera is usually fine).
- Check that faces are not cropped awkwardly or falling into the page fold.
You can:
- Use one strong portrait on the cover
- Add a few smaller photos inside to show different stages of life
- Save collages for templates designed for multiple images – don’t try to squeeze extra photos into text areas
If you have old printed photos, scan them at a high resolution (at least 300 dpi) before uploading.
Choosing and Preparing Photos for Custom Templates
Photos are often what people remember most about the order of service. A little preparation goes a long way.
Pick Photos That Tell Their Story
Try to choose a small selection that captures:
- A clear portrait (for the cover)
- A photo with close family or friends
- Perhaps one showing a hobby, career or special place
You don’t need dozens of images; 3–8 well‑chosen photos usually tell a stronger story than 20 tiny ones.
Check Quality Before You Upload
Good print results depend on:
- Sharpness – zoom in; if it’s very grainy on screen, it may print blurry.
- Lighting – aim for photos where the face is visible and not in deep shadow.
- Size – avoid screenshots or tiny social media thumbnails.
If you’re unsure, compare a couple of options in the template preview and choose the clearest.
Colour or Black & White?
Both can work beautifully:
- Colour – feels warm and lifelike, especially if the person was known for bright clothes or a big smile.
- Black & white – can unify photos from different eras and give a timeless, classic feel.
You can mix them, but if the design is very minimal or traditional, sticking to one treatment often looks more coherent.
Cropping and Framing
Use the editor’s crop tool to:
- Remove distracting backgrounds
- Focus on faces and important details
- Keep horizon lines roughly straight
Try to avoid cropping at joints (elbows, knees) in ways that feel unnatural – better to zoom in on the face and shoulders.
Text Formatting Essentials in Funeral Templates
Even the most beautiful design will struggle if the text is hard to read. Here’s how to keep things clear and dignified.
Choose Readable Fonts
Most templates come with suitable fonts already chosen. Aim for:
- A serif font (with small “feet”) or a clean sans‑serif for body text
- Limited or no script fonts for long passages – keep them for short headings at most
- Consistency: don’t introduce lots of new font styles
If you change the main font:
- Make sure it’s still easy to read at the chosen size
- Test a printed page to see how it looks on paper, not just on screen
Set Comfortable Sizes and Line Spacing
As a guide:
- Body text equivalent to 12–13 pt or larger
- Hymn lyrics and readings not smaller than your main text
- Headings 2–4 points larger than body text
Increase line spacing slightly if the text feels cramped; this is especially helpful for older guests.
Use Alignment Wisely
- Left‑aligned text is easiest for long paragraphs, hymns and readings.
- Centred text works for headings or very short quotes, but is harder to read in large blocks.
- Avoid fully justified text (straight left and right edges) if it creates odd spacing between words.
Keep Margins and Page Breaks Clean
- Don’t let text run right to the edges – leave comfortable margins.
- Avoid splitting a hymn or poem in the middle of a verse across two pages if you can help it.
- If you add or remove content, check that headings are not left stranded at the bottom of a page with no text underneath.
Common Mistakes When Customising Templates (And How to Avoid Them)
Knowing the usual pitfalls can save you stress later.
1. Trying to Fit Too Much Text on Each Page
It’s natural to want to include everything, but:
- Overcrowded pages are hard to read
- Tiny text can be impossible for older guests
Fix:
If the page looks busy, either:
- Increase the total page count, or
- Shorten some of the content (for example, using one hymn instead of two)
Your printing options make it easy to choose 4, 8, 12, 16 or 20 pages:
Funeral Order of Service Printing.
2. Mixing Too Many Fonts and Colours
This can make the booklet look messy and amateurish.
Fix:
- Use one font for body text and at most one contrasting font for headings.
- Stick to a simple colour palette: usually one main text colour and one accent.
3. Using Low‑Quality or Stretched Photos
Blurry or distorted images distract from the tribute.
Fix:
- Always use the original file where possible.
- Never drag a tiny image bigger than it was meant to be; it will pixelate.
- Use the crop tool rather than stretching to fill a space.
4. Ignoring Safe Areas and Margins
If important text or faces are too close to the page edge, they risk being cut off when printed.
Fix:
- Follow the template’s default margins.
- Keep crucial details (names, faces, dates) well inside the edges.
- Use preview to check every page’s layout.
5. Leaving Proof‑Reading to the Last Minute
Typos in names or dates are surprisingly common – and painful to spot after printing.
Fix:
- Do one slow read‑through yourself.
- Ask at least one other person to check everything.
- Print a home copy in black and white if it helps you spot errors.
If you order printing through us, your artwork is also checked before going to print:
Funeral Order of Service Printing UK – Next Day Delivery.
6. Changing the Design Too Drastically
It’s tempting to move everything around “just a little more”, but heavy customisation can break the design.
Fix:
- Treat the template as a trusted framework.
- Make small, deliberate changes instead of constant experimenting.
- If you want something very different, it may be better to switch to another template or request a custom layout.
Advanced Customisation Tips
When the basics are in place, you can add small touches that make the order of service feel even more personal.
Add a Short Introduction or “About” Section
A simple paragraph at the start can set the tone, for example:
- A brief life story
- A favourite quote or verse
- A line about what they were most known or loved for
This can sit opposite the first hymn or reading in many templates.
Create a Photo Memories Page
If your chosen template has a spare page at the back:
- Use it for a small collage of photos with tiny captions (e.g. “Dad and Mum, 1978”).
- Keep backgrounds clean so the photos stand out.
- Don’t overcrowd – 3–6 images is usually enough.
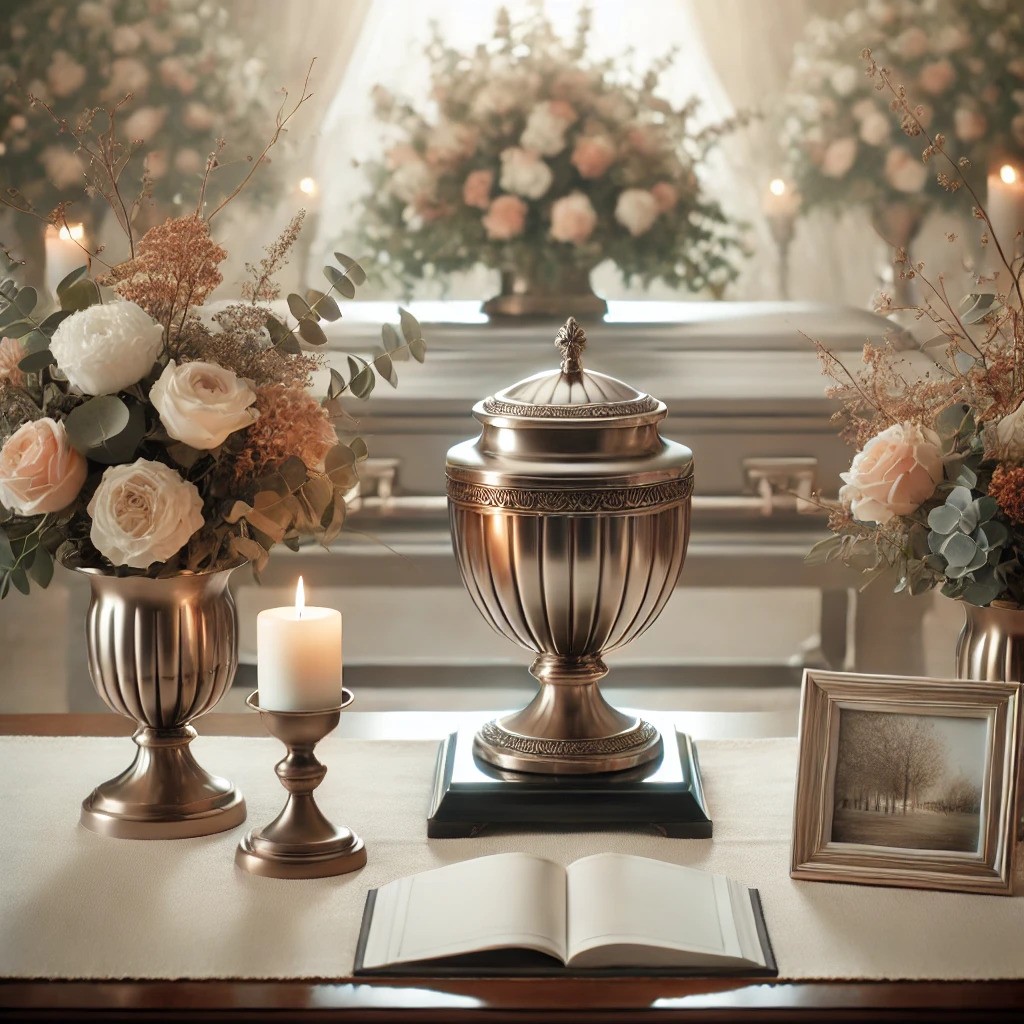
Match Paper and Finish to the Design Style
The same design can feel very different on different papers:
- Traditional or floral designs: ivory or cream papers; soft matt finishes.
- Modern, photo‑heavy designs: smooth silk or velvet lamination on the cover.
You can see the options and prices here:
Funeral Order of Service Printing UK – Options & Prices.
Get Help If You Feel Stuck
If all of this still feels like too much, that’s completely understandable. You can:
- Start a template and ask our team to finish or tidy it, or
- Use the free “Design it for Me” / Done For You service linked from the templates page – send your wording and photos, and we’ll create the layout for you.
You’ll still get to approve the final design before anything is printed.
FAQs About Customising Funeral Order of Service Templates
Do I need design experience to customise a template?
No. The editor is built for non‑designers. You click on text to change it, click on images to replace them, and we’re available to help if you get stuck.
Can I add extra pages to a template?
Usually yes. Many templates can be expanded to 8, 12, 16 or 20 pages. If you’re unsure which option is best, we can advise based on your content.
What if I choose a template and then change my mind later?
You can switch to another template and copy your text across. If you do this early in the process, it’s usually quite quick.
Can I use my own artwork instead of a template?
Yes. If you’ve designed something in Canva, Word or another program, you can usually upload a print‑ready PDF for us to print. But using our templates and editor is often faster and gives you built‑in print safety margins.
Where should I start right now?
Begin by choosing a design that feels right here:
Free funeral order of service templates.
Then follow the steps in this guide to customise it. When you’re ready, order printed copies with free UK delivery:
Funeral Order of Service Printing UK – Next Day Delivery.